The Process Of Boiler Replacement
So your old boiler has gone bad and you are thinking of a replacement? A damaged or faulty boiler can some times cost a lot of money and if the boiler is old it may not be worth spending large amounts of money making repairs.
Here is a guide that can make your boiler installation an easy task. First it is important to identify the type of heating system you are currently using. You might have any of the following:
Below are few things that will take place while boiler replacement stroud is undertaken.
Step 1 - Elimination of redundant boiler equipment
The process begins with removing of the old boiler and other equipment that is no longer required. Plasterwork may be required to patch damaged wall areas after the removal. The existing radiators can be made use of if they are in good condition. However, new thermostatic lock shields must be used if not present. It is good to ensure that all valves are changed unless they have all recently been changed.
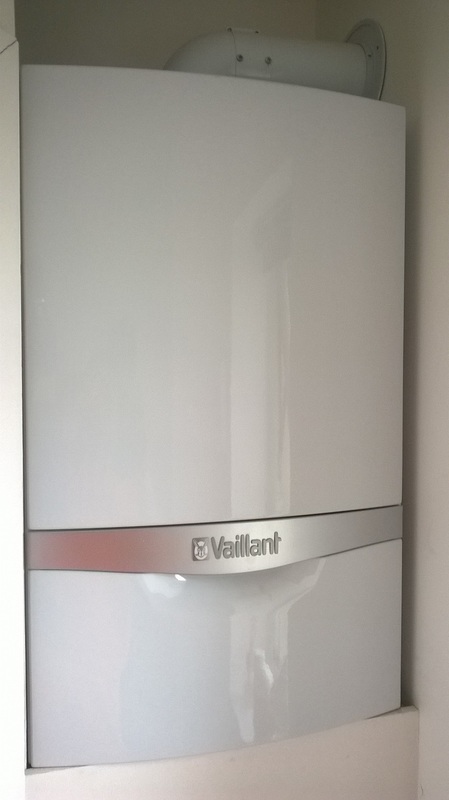
Step 2 - The installation of the boiler
The contractor then will install the boiler, the location should have already been specified on the quotation/estimate for the job.
Step 3 - Pipework, wirings and controls
Existing pipework is likely to be utilised if present, however modifications will be required to accommodate the new model of boiler. Any missing controls will be installed, in some instances existing controls may be utilised. The room thermostat(s) should be postioned in a well thoughout out place to ensure that they perfrom correctly.
Step 4 – Commissioning
Once the installation has been completed the installer should commission the appliance and fill out any appropriate paperwork. A good installer will ensure that the system has been flushed out correctly to ensure the system is free from sludge, scale and any other sediment. They then should run through the operation and any other need to know information with the customer.
So your old boiler has gone bad and you are thinking of a replacement? A damaged or faulty boiler can some times cost a lot of money and if the boiler is old it may not be worth spending large amounts of money making repairs.
Here is a guide that can make your boiler installation an easy task. First it is important to identify the type of heating system you are currently using. You might have any of the following:
- Combination boiler
- Clyinder based gravity fed system (heat only boilers)
- Clyinder based system boiler
Below are few things that will take place while boiler replacement stroud is undertaken.
Step 1 - Elimination of redundant boiler equipment
The process begins with removing of the old boiler and other equipment that is no longer required. Plasterwork may be required to patch damaged wall areas after the removal. The existing radiators can be made use of if they are in good condition. However, new thermostatic lock shields must be used if not present. It is good to ensure that all valves are changed unless they have all recently been changed.
Step 2 - The installation of the boiler
The contractor then will install the boiler, the location should have already been specified on the quotation/estimate for the job.
Step 3 - Pipework, wirings and controls
Existing pipework is likely to be utilised if present, however modifications will be required to accommodate the new model of boiler. Any missing controls will be installed, in some instances existing controls may be utilised. The room thermostat(s) should be postioned in a well thoughout out place to ensure that they perfrom correctly.
Step 4 – Commissioning
Once the installation has been completed the installer should commission the appliance and fill out any appropriate paperwork. A good installer will ensure that the system has been flushed out correctly to ensure the system is free from sludge, scale and any other sediment. They then should run through the operation and any other need to know information with the customer.
 RSS Feed
